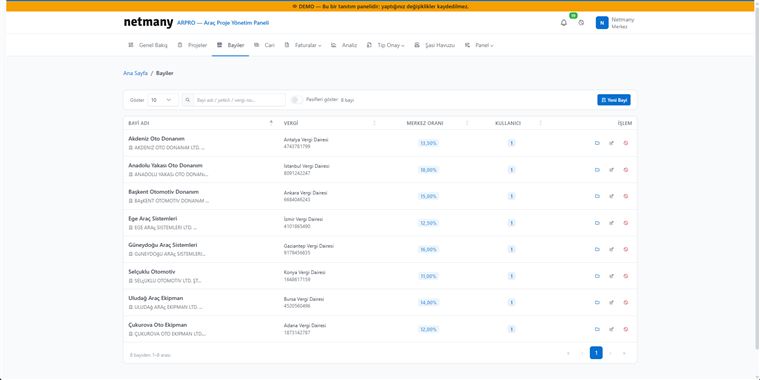
In ARPRO every dealer has their own workspace: they see only their own records, their current account with the head office is posted automatically, and they access documents only as far as their permissions allow. In this guide we walk through adding a new dealer step by step, setting user permissions, and wiring up the first payment flow. The whole process takes a few minutes and your dealer can start working the same day.
Open the Dealers module and click New Dealer. Fill in the company title, tax office and number, address and contact fields. Entering the tax details in full matters — the e-invoice/e-archive integration relies on them. Once you save, a current account is created automatically for the dealer and all transactions start posting to it.
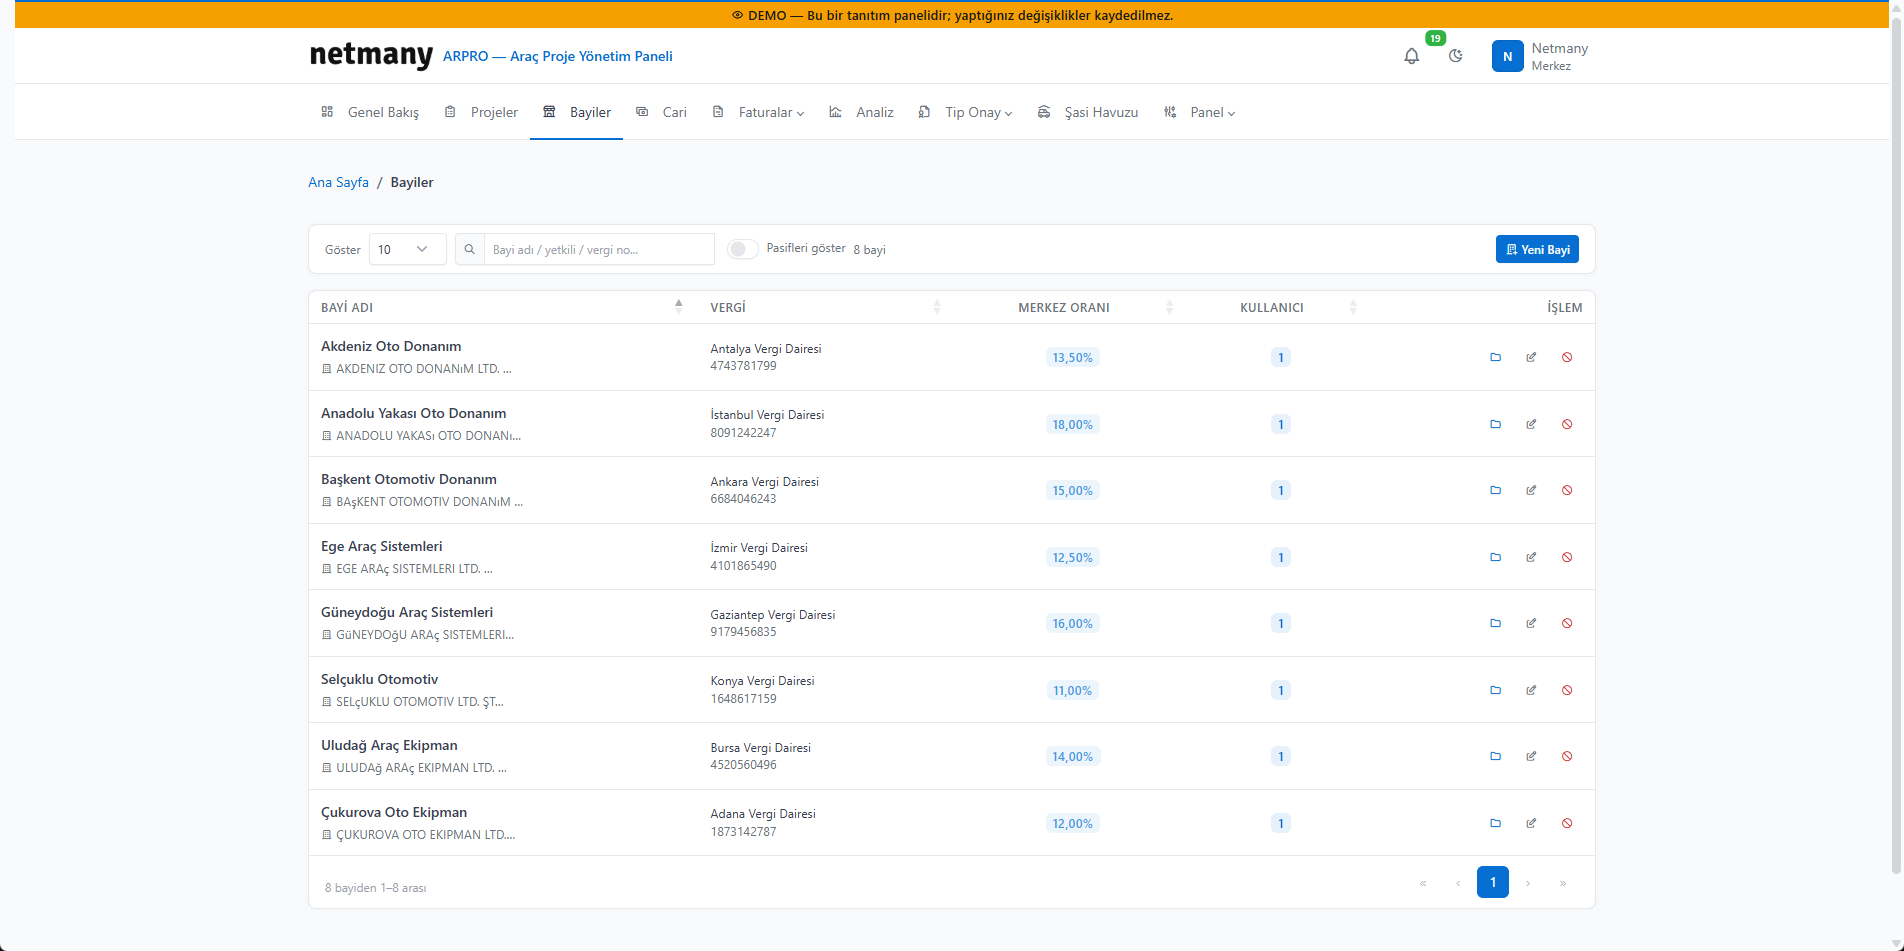
Add the people who will log in for the dealer and give each one a role-appropriate permission set. An accounting user sees only accounts and invoices; a field user sees only projects and documents. This way the dealer manages their own team while data security is ensured from the start. Grant "full access" only to the dealer's manager.
The dealer can collect payments via a credit-card payment link. Once the link is created and sent, the dealer clicks and pays; when the payment succeeds the record posts to the account automatically. You can also track upfront or installment collections from the same screen.
You can watch the whole dealer-adding process end to end in a short video:
Product video will be added here
Setup, data migration and maintenance are on us; you simply log in from the browser and use it. If you would like to see your dealer structure with your own data, let us arrange a custom demo.